Learning how to write a check is an important financial skill, even in today’s digital banking world. While many people rely on mobile payments and credit cards, checks are still widely used for rent, bills, business payments, and official transactions. Knowing how to properly complete a check helps ensure that payments are processed correctly and reduces the risk of errors or fraud.
Checks are issued by banks and allow the account holder to authorize payment from their bank account to another person or organization. Whether you are paying a landlord, a contractor, or making a donation, understanding how to write a check correctly ensures that the transaction goes smoothly.
This guide explains each step in detail so you can confidently write a check whenever necessary.
Why Learning How to Write a Check Is Important
Although digital payments are common today, checks remain relevant in many situations. Many landlords, small businesses, and institutions still accept or prefer check payments. In some cases, checks provide a written record of the transaction, making them useful for tracking expenses and maintaining financial documentation.
Knowing how to write a check also helps prevent mistakes such as incorrect payment amounts, missing signatures, or incomplete details that could cause the bank to reject the payment.
Parts of a Check You Should Know
Before learning how to write a check, it is important to understand the different sections printed on a check. Each part has a specific purpose.
Date Line
The date line appears at the top right corner of the check. This is where you write the date when the check is issued. Writing the correct date ensures the bank knows when the check was created.
Payee Line
The payee line begins with the words “Pay to the Order of.” This is where you write the name of the person or organization receiving the payment.
Amount Box
On the right side of the check, there is a small box where you write the payment amount in numbers. This amount must match the written amount you include later on the check.
Written Amount Line
Below the payee line, there is a space where you write the payment amount in words. This provides an additional layer of verification.
Memo Line
The memo section is optional but helpful. You can use it to note the reason for the payment, such as “Rent,” “Invoice #102,” or “Utility Bill.”
Signature Line
The signature line appears at the bottom right of the check. Your signature authorizes the bank to release funds from your account.
Step-by-Step Instructions on How to Write a Check
Writing a check is straightforward once you understand the process. Follow these steps to complete it correctly.
Step 1: Write the Current Date
Start by filling in the date at the top right corner of the check. You can write the date in various formats such as:
-
March 12, 2026
-
03/12/2026
This step is important because it indicates when the check was issued.
Step 2: Add the Recipient’s Name
On the line that begins with “Pay to the Order of,” write the full name of the person or company receiving the payment. Make sure the spelling is correct because banks rely on this information to process the payment.
For example:
-
John Smith
-
ABC Property Management
This step ensures the correct recipient can deposit or cash the check.
Step 3: Enter the Payment Amount in Numbers
In the small box on the right side of the check, write the amount of money you want to pay using numbers.
Example:
-
$150.00
-
$1,250.75
Always include cents even if the amount is a whole number.
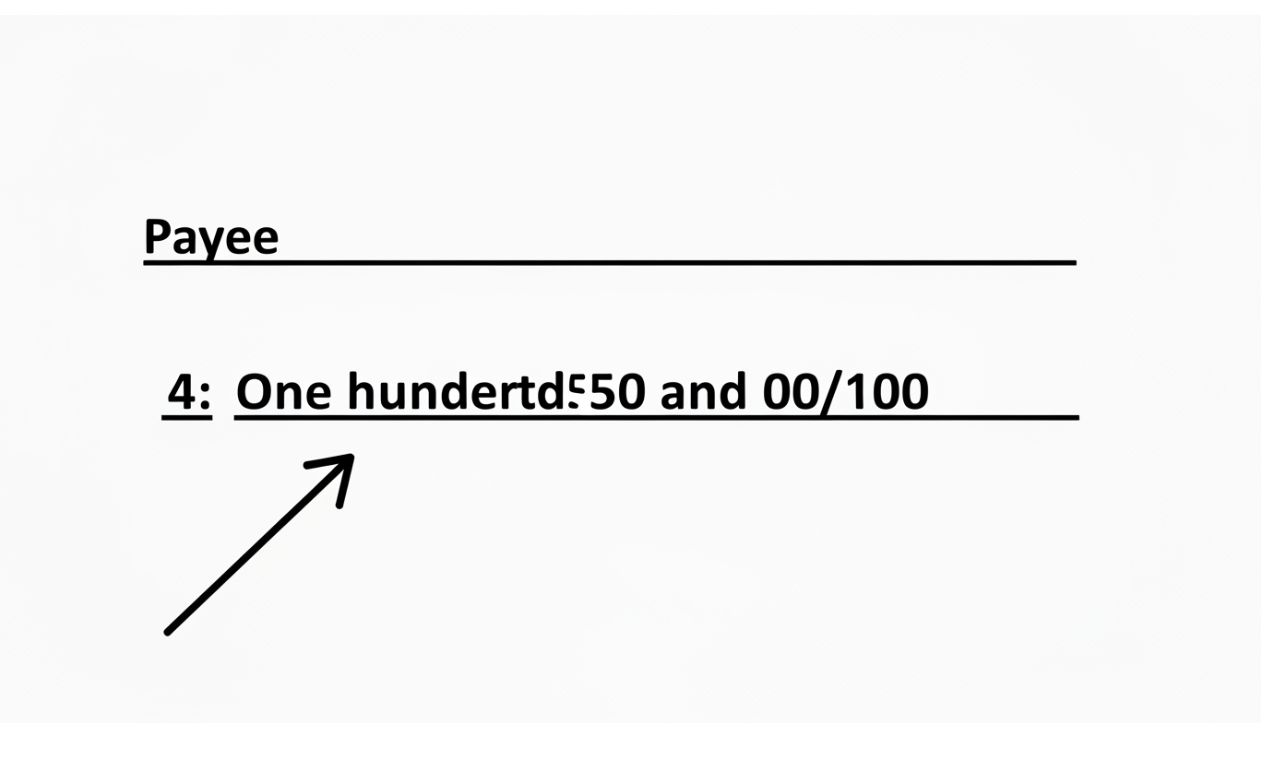
Step 4: Write the Amount in Words
Next, write the payment amount in words on the line below the payee’s name.
For example:
-
One hundred fifty dollars and 00/100
-
One thousand two hundred fifty dollars and 75/100
This written amount confirms the numerical value and helps prevent alterations.
Step 5: Add a Memo (Optional)
In the memo line at the bottom left, write a note describing the purpose of the payment. While this step is optional, it helps both you and the recipient keep track of transactions.
Examples include:
-
Rent for April
-
Car repair
-
Consulting services
Step 6: Sign the Check
Finally, sign your name on the signature line at the bottom right. Without a signature, the check is invalid and cannot be processed by the bank.
Your signature confirms that you authorize the payment from your account.
Common Mistakes to Avoid When Learning How to Write a Check
When learning how to write a check, it is important to avoid common mistakes that could cause problems.
Leaving Blank Spaces
Blank spaces on a check can be altered by someone else. Always fill in all lines completely.
Writing Incorrect Amounts
Ensure the number in the amount box matches the written amount in words. If the two amounts do not match, the bank may reject the check.
Forgetting to Sign the Check
A check without a signature cannot be processed. Always verify that you have signed it before giving it to the recipient.
Using Pencil or Erasable Ink
Checks should always be written using permanent ink to prevent tampering.
Tips for Writing Checks Safely
Even though checks are simple to use, they can also be targets for fraud if not handled carefully. Here are some safety tips when practicing how to write a check:
-
Use a pen with permanent ink.
-
Record the transaction in your check register.
-
Avoid leaving large blank spaces on the check.
-
Store your checkbook in a secure location.
-
Review your bank statements regularly.
These precautions help protect your bank account and reduce the risk of financial fraud.
When You Might Need to Write a Check
There are several situations where writing a check is still useful:
-
Paying rent to a landlord
-
Making payments to small businesses
-
Donating to charities
-
Paying contractors or service providers
-
Sending money by mail
Even with modern digital banking, knowing how to write a check ensures you can handle these situations easily.
Conclusion
Understanding how to write a check is a valuable financial skill that remains relevant despite the rise of digital payments. By learning the correct steps—writing the date, adding the recipient’s name, entering the payment amount, including a memo, and signing the check—you can ensure your transactions are accurate and secure.
Whether you are paying bills, sending money, or documenting expenses, writing a check correctly helps maintain clear financial records and prevents costly mistakes. With a little practice, completing a check becomes a quick and simple process that anyone can manage confidently.